 MeshPit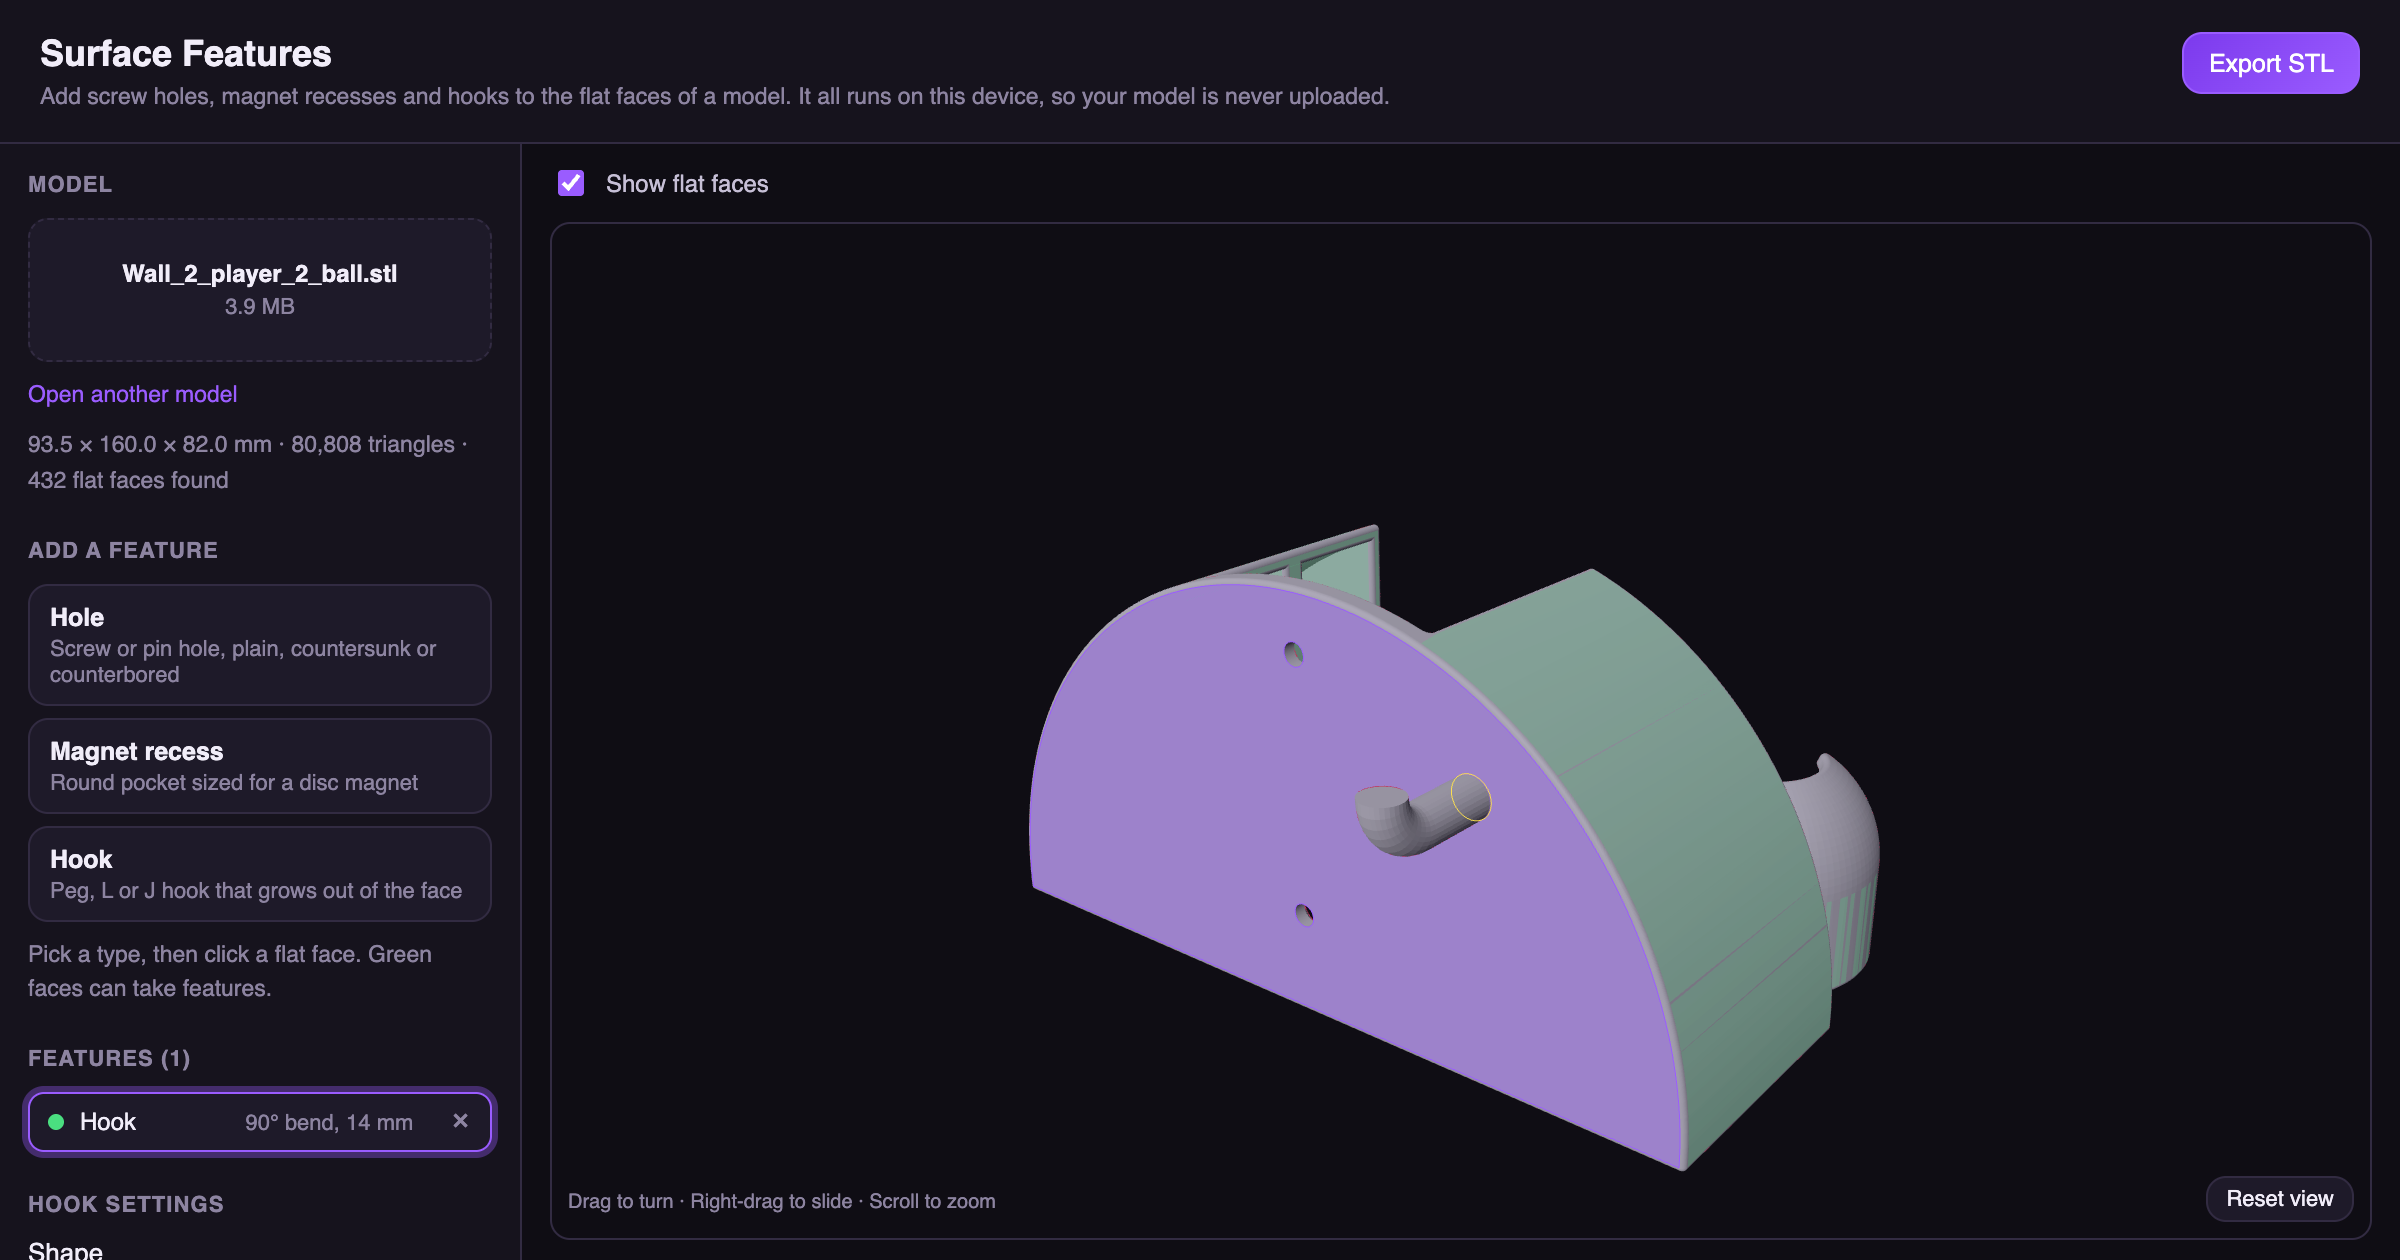
What you can add
- Hole. Plain, countersunk or counterbored, blind or through to the flat face behind. Pick a screw size from M2 to M6 or type a diameter of 1 to 40 mm.
- Magnet recess. A round pocket for a disc magnet. Pick a size from 6 × 2 mm to 20 × 3 mm or enter your own. Clearance and a lead-in at the mouth are added for you.
- Hook. A round or flat peg that leaves the face and bends. A bend of 0° is a straight peg, 90° an L and 180° a J.
1. Open the model
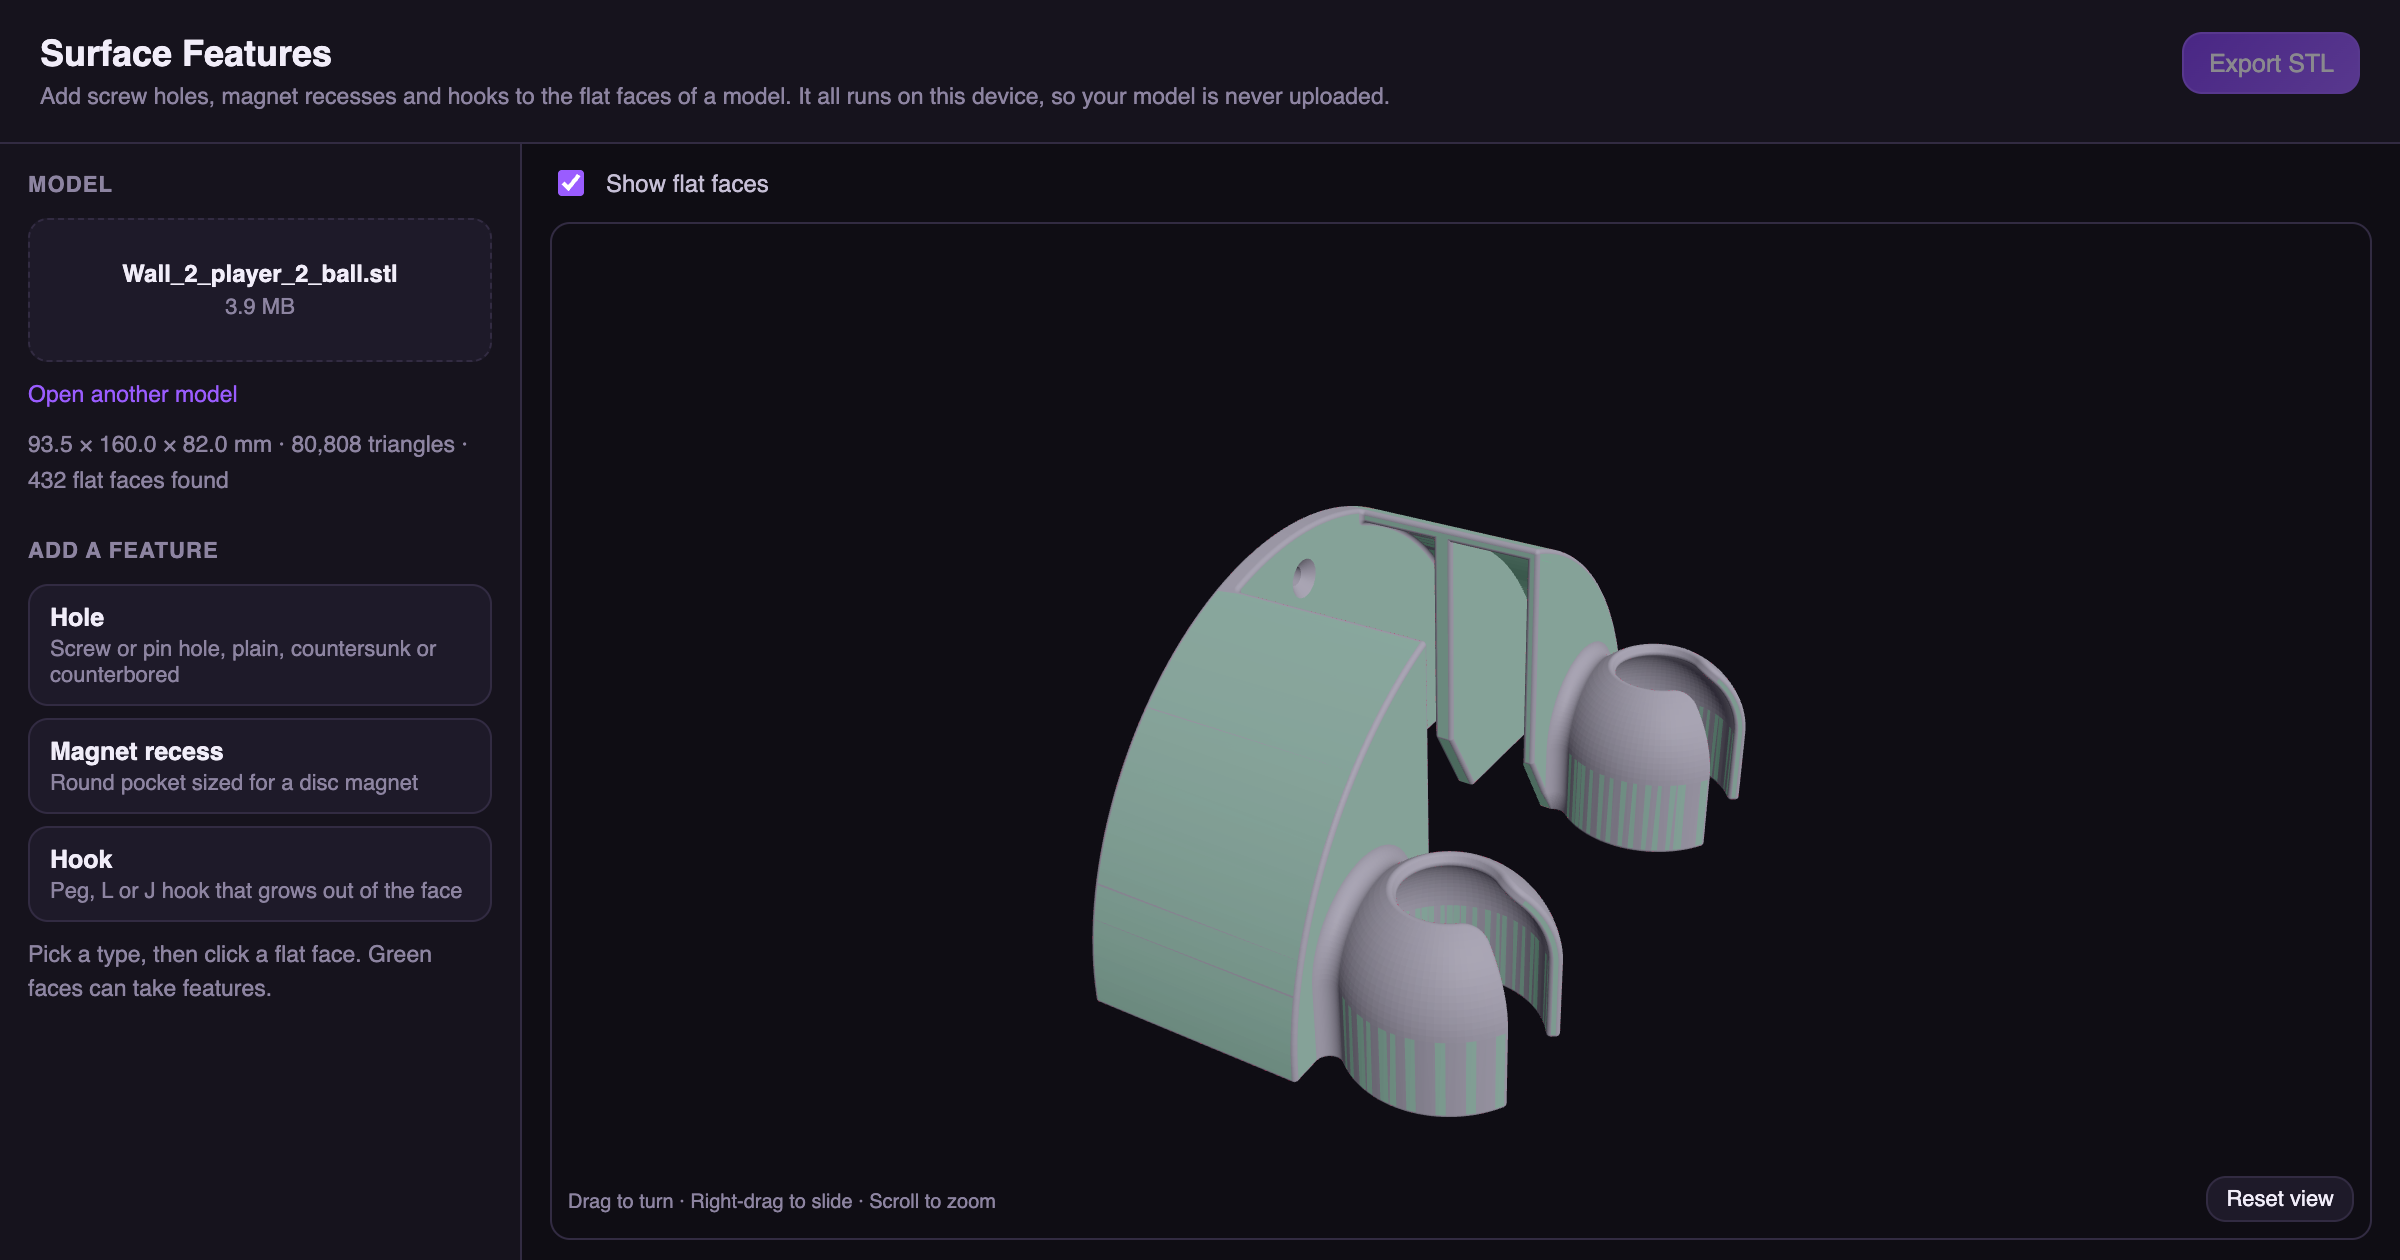
Open Surface Features, sign in, and choose an STL or drop one onto the page. The tool reads it as millimetres and shades every flat face green. Only those faces can take a feature.
2. Add a hole
- Click Hole under Add a feature.
- Click a green face. The hole appears where you clicked and its settings open below.
- Pick a Screw size, such as M6, and a Head. Countersunk suits a flat-head screw and counterbored suits a socket cap.
- Drag the hole's outline to slide it over the face, or type its place under Position on the face.
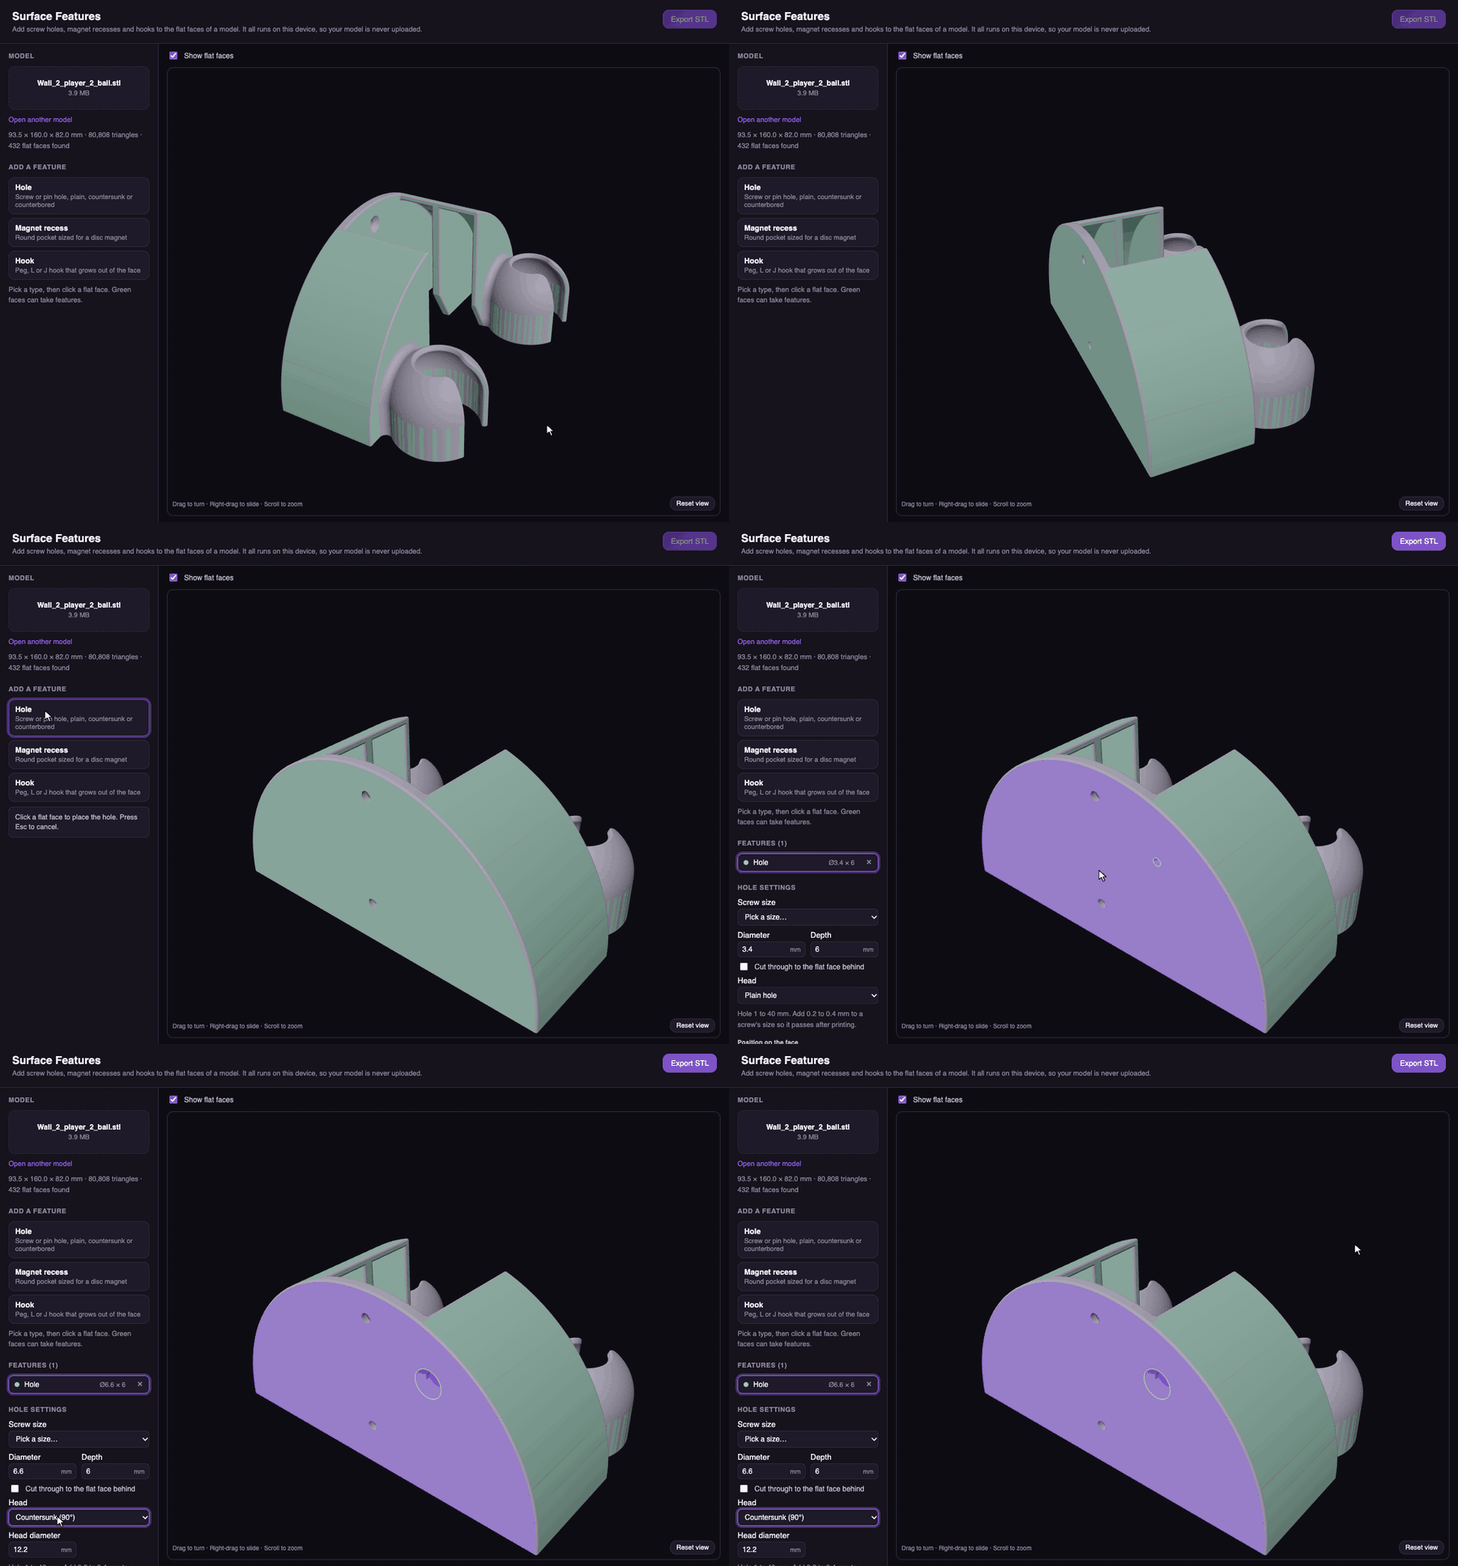
Turn the model with a drag, slide it with a right-drag and zoom with the scroll wheel. A feature that doesn't fit turns red and says why. It has to leave 0.8 mm of wall to the edge of the face, to any hole and to the next feature.
3. Example: a hook on the back of a wall mount
The same steps add a hook. Turn the wall mount to its flat back, click Hook, then click the middle of the face. The settings below give an L-shaped hook.
- Shape is Round, with a Diameter of 8 mm.
- Reach is 14 mm, the straight run out of the face before the bend.
- Bend is 90° with a Bend radius of 8 mm.
- Direction is 90°, which bends the tip towards the top of the part.
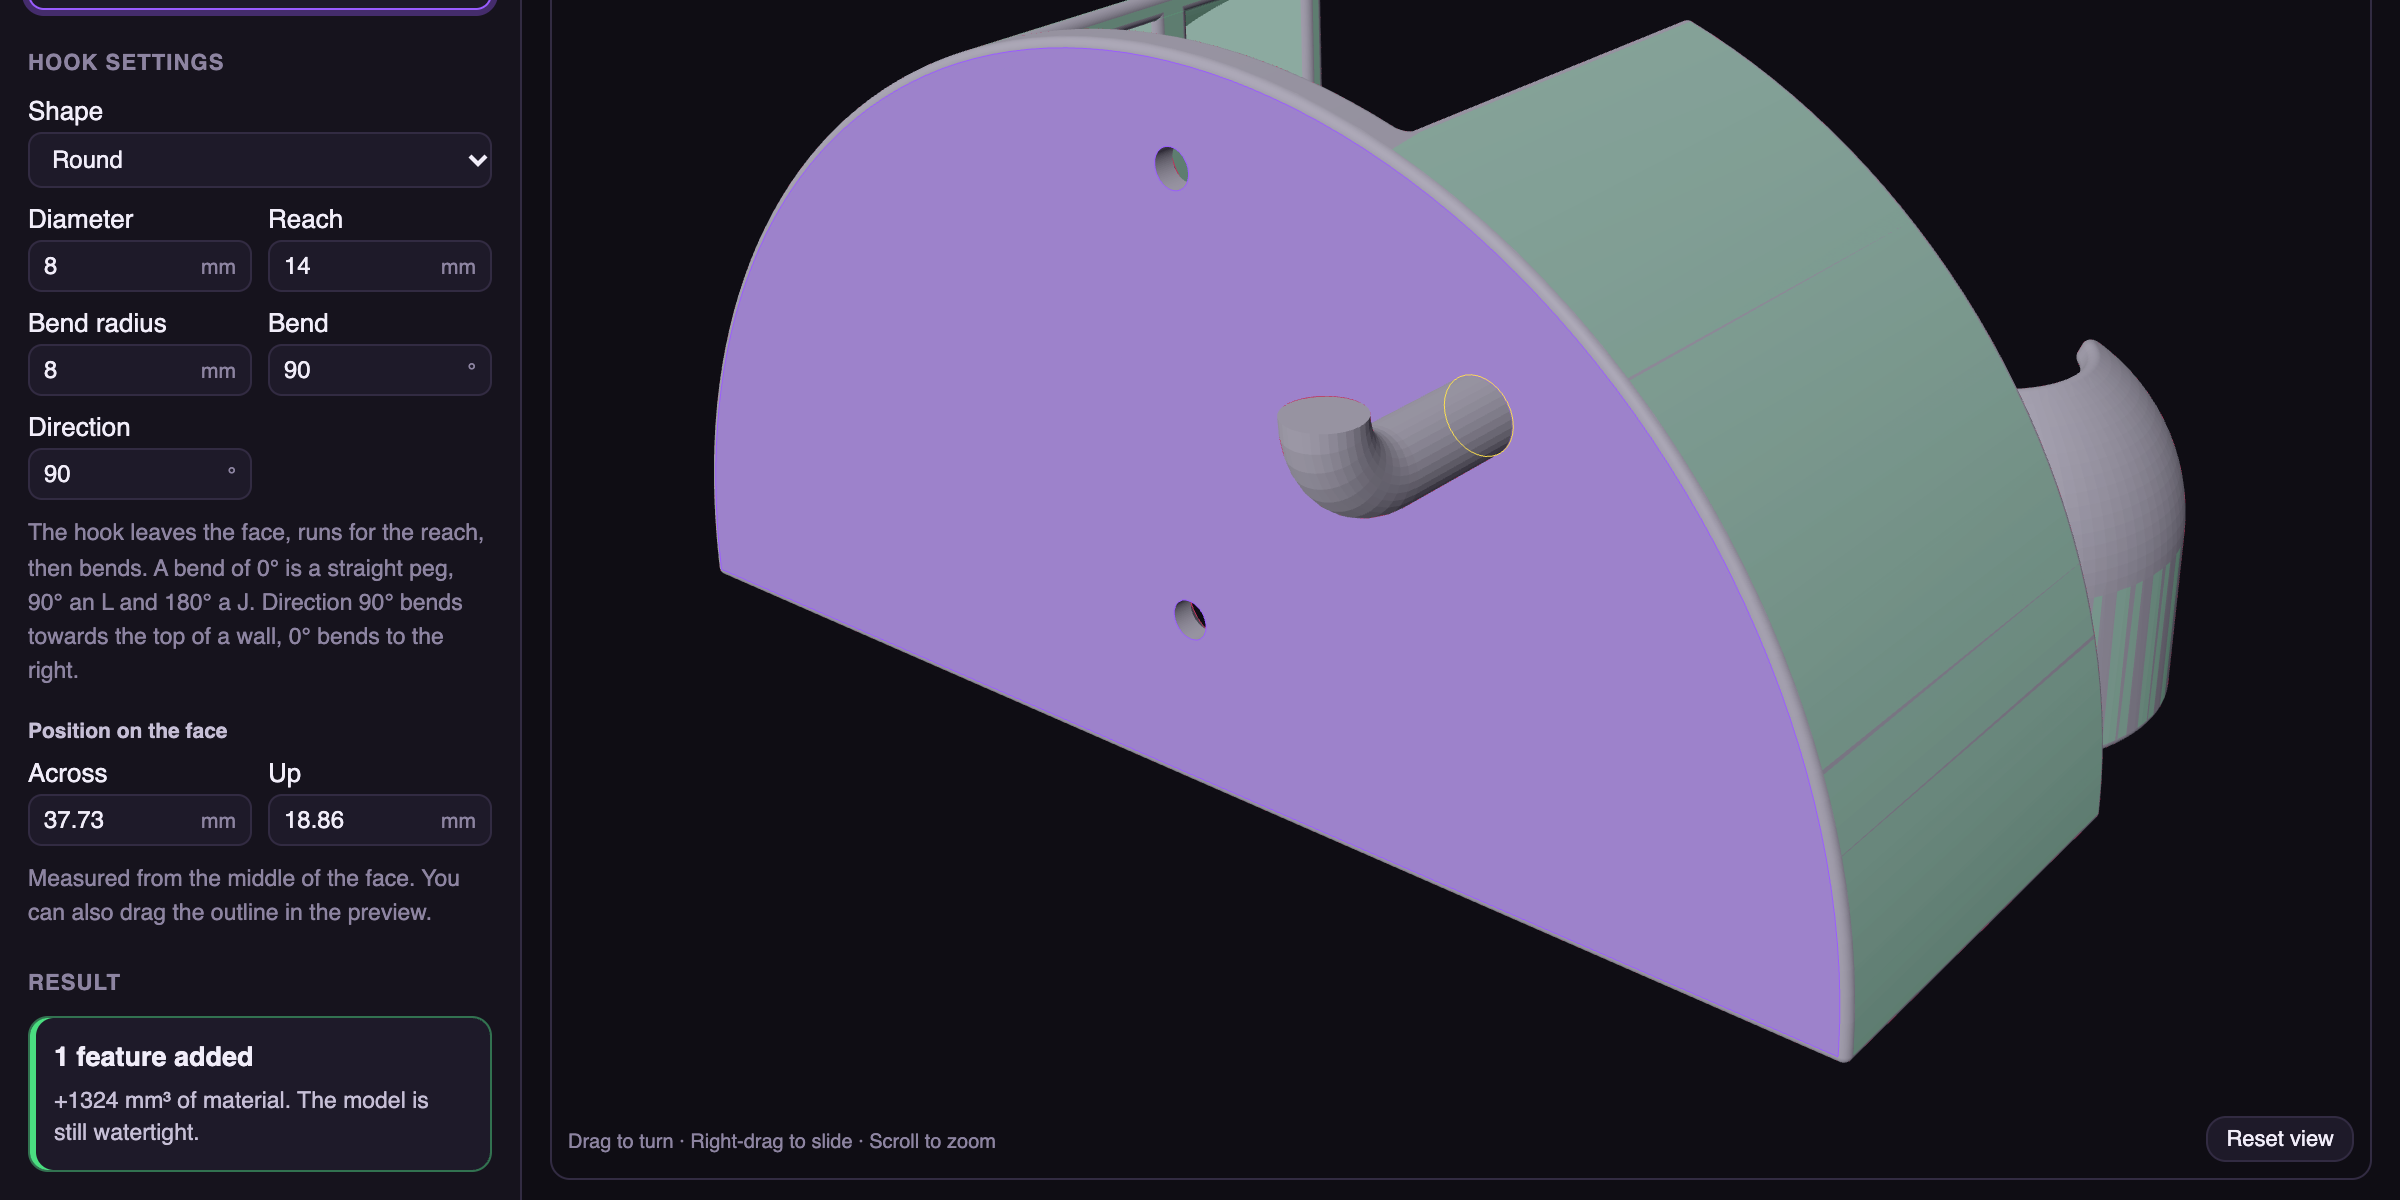
Add as many features as you like. Each one is listed under Features, and selecting one shows its settings.
4. Check the result and export
The Result panel counts the features added and how much material they add. It also confirms the model is still watertight, so a slicer will accept it. When every feature fits, click Export STL.
The preview is free. An export uses one of your 3 free exports, or one credit once they are gone, and a subscription makes it free. Every export is charged, even after a small change, because MeshPit doesn't keep your model.
What it can't do
Features go on flat faces only. A curved or sloping surface has no face to build on. The tool also needs a closed model, so run one with open edges through Mesh Repair first.
Questions
Can I add a hole to an STL file without CAD software?
Yes. Open the STL in Surface Features, choose Hole, click a flat face and pick a screw size. The preview shows the hole straight away, and Export STL gives you the model with the hole cut in. Magnet recesses and hooks work the same way.
Which faces can take a feature?
Flat ones only. Surface Features finds them when it opens the file and shades them green. A curved or sloping surface has no flat face to build on. A feature also has to leave at least 0.8 mm of wall to the edge of the face, to any hole and to the next feature. When it does not fit, the tool says why and Export stays off until you move or resize it.
What size should a magnet recess be?
Enter the magnet's own diameter and thickness, or pick a common size such as 8 × 3 mm. Surface Features adds 0.2 mm of clearance to both by default, so the magnet fits after printing, and a small lead-in at the mouth. It keeps at least 0.6 mm of material behind the pocket.
Does the hook print as part of the model?
Yes. The hook is built into the face, so the exported STL is one closed model with the hook on it. A hook that sticks out sideways needs support or a print orientation that suits it, so check it in your slicer's preview.
Is my model uploaded?
The preview runs in your browser. When you export, the model and your features are sent to MeshPit to be built, and the model is not kept. A model too large to send is refused before it is charged.
Is Surface Features free?
Previewing is free. Exporting needs a free account and uses the same 3 free exports as the Project Box Designer, then R 20 per export. Every export is charged, because the model is never stored and there are no remixes. A subscription from R 199 a month makes every export free.