 MeshPit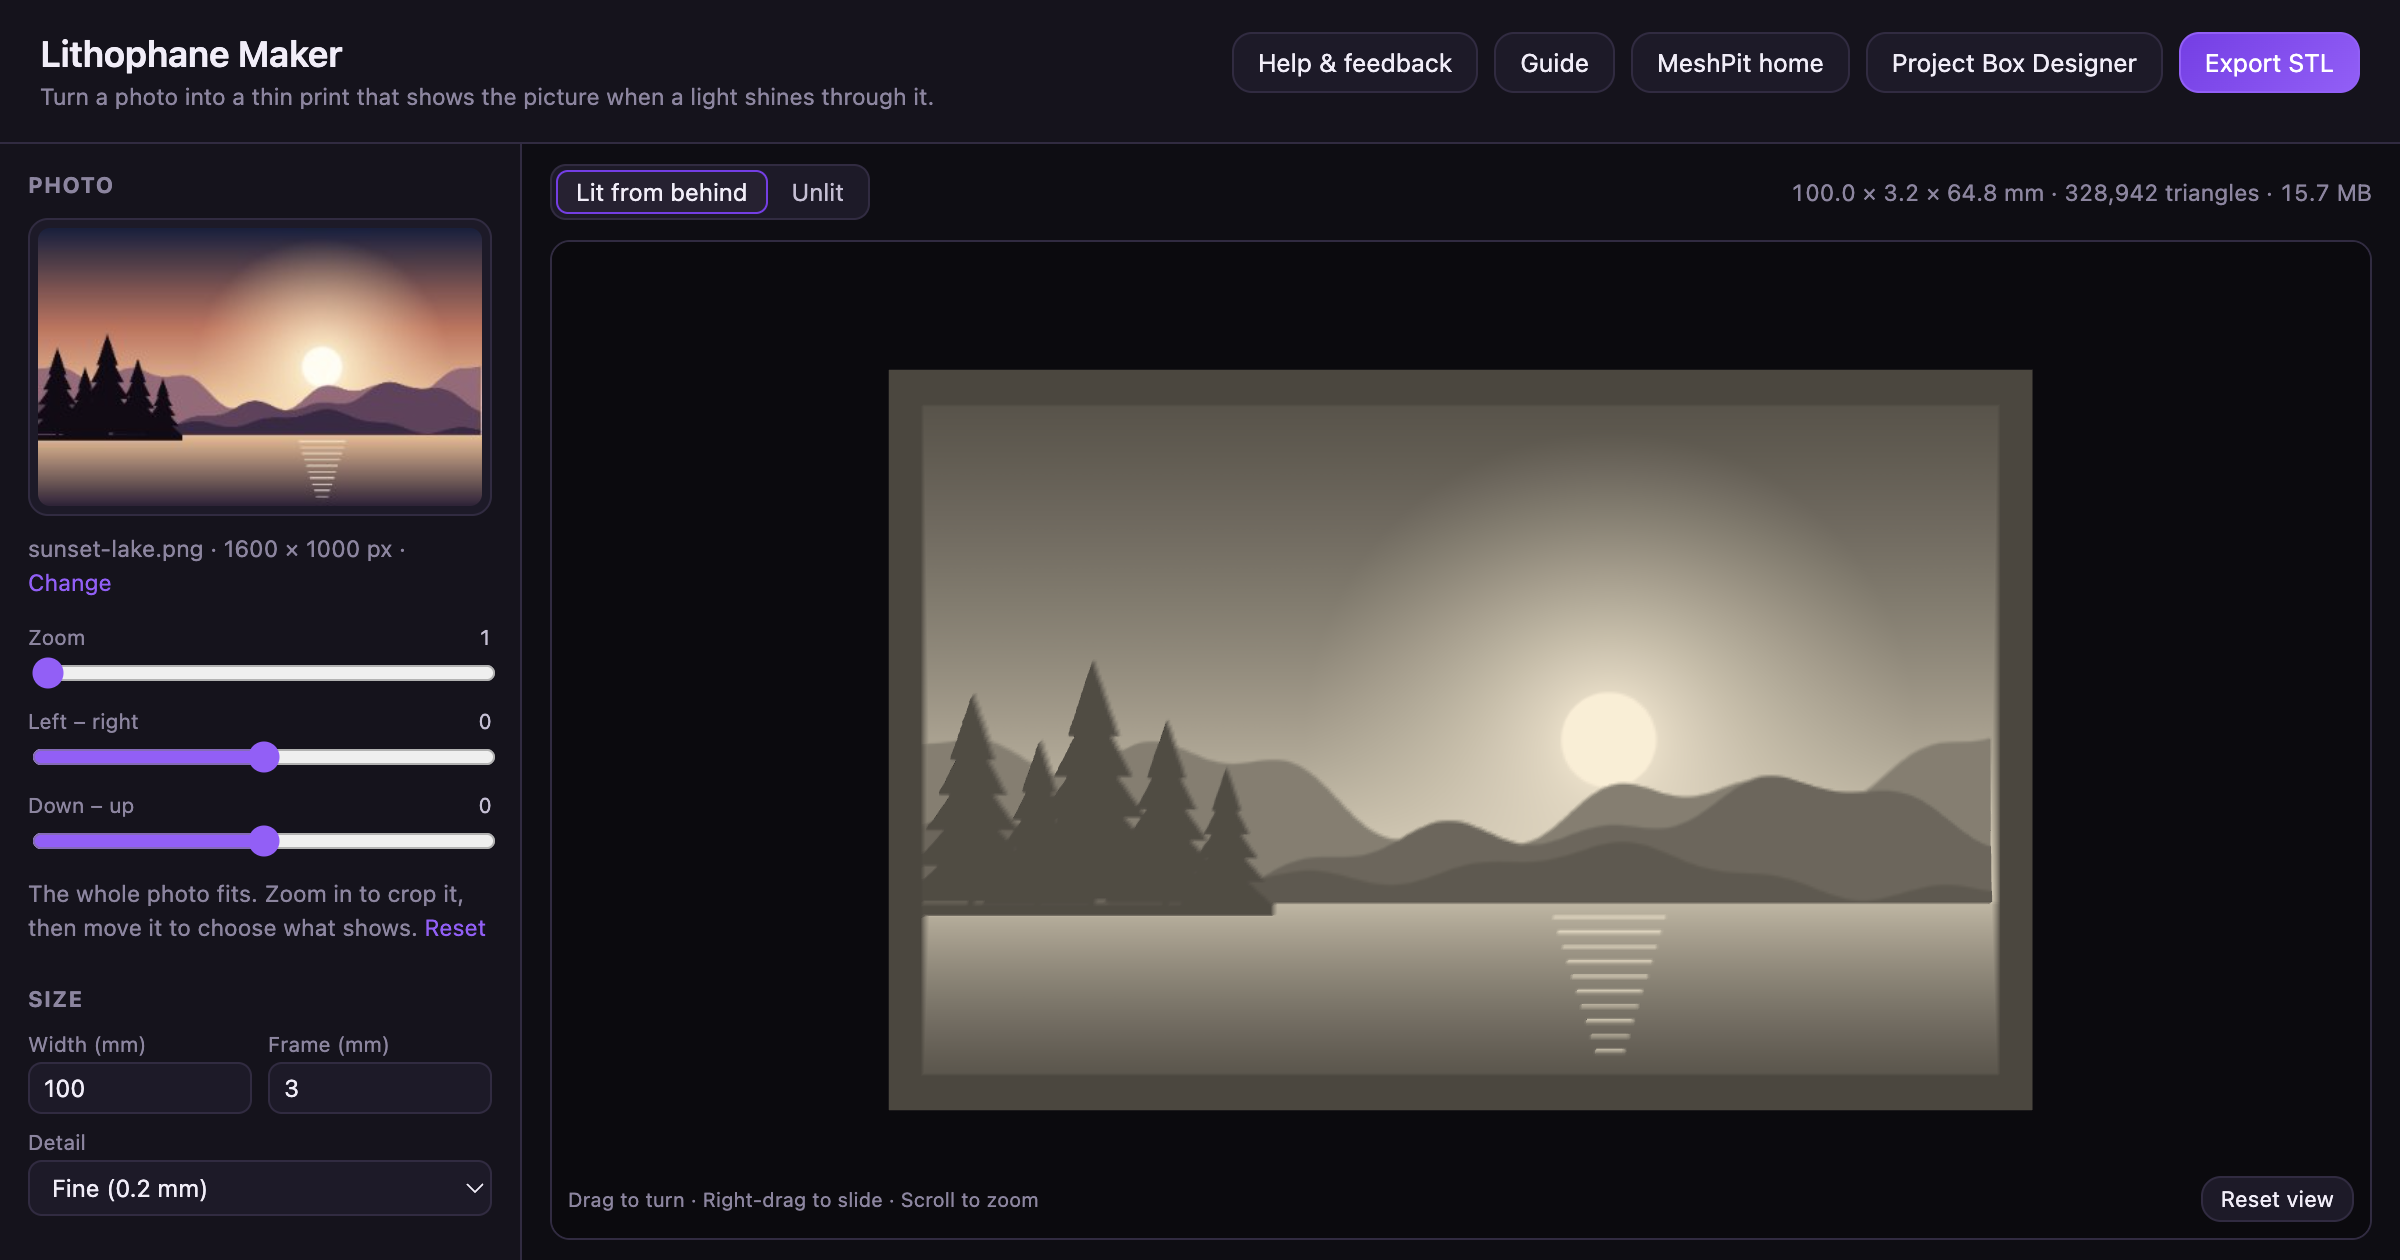
1. Choose a photo
Open the Lithophane Maker and choose a photo, or drop one onto the page. It opens JPEG, PNG and WebP files.
Photos with a clear subject and a full range of tones print best, such as a face or a pet close up, or a landscape with some sky. The print can only show the range between its thinnest and thickest points, so detail in very dark shadows or blown-out highlights is lost.
2. Pick an outline and a shape
Under Shape, pick one of six outlines: rectangle, round, hexagon, octagon, triangle or heart. A rectangle takes the photo's proportions. The other outlines keep their own and crop the photo to fill them, so use the Zoom and position sliders under Photo to choose which part shows.
Then choose Flat or Curved. A curved lithophane wraps around by up to 270°, starting at 120°, and stands on its own with a light inside the curve. A curve deeper than 180° with no frame has thin, flexible edges, so keep a frame of 2 mm or more.
3. Set the size and thickness
These settings decide how the print looks when it's lit. The defaults suit most photos, so change them only when the preview tells you to.
| Setting | Default | What it does |
|---|---|---|
| Width | 100 mm | The overall width, frame included, from 20 to 300 mm. The height follows the photo or the outline. |
| Thinnest | 0.8 mm | The thickness where the photo is white. Below 0.6 mm the print may have holes. |
| Thickest | 3.2 mm | The thickness where the photo is black. Keep it at least 1 mm above Thinnest, or the lit photo looks flat and washed out. |
| Frame | 3 mm wide, 3.2 mm thick | A solid border that stiffens the edge. Make it at least as thick as Thickest, or it glows brighter than the darkest parts of the photo. |
| Detail | 0.2 mm | The spacing of the mesh, from Ultra (0.1 mm) to Draft (0.5 mm). Finer settings keep more detail and make bigger files, but a 0.4 mm nozzle can only print so much of it. |
The Lithophane Maker warns you under the preview when a setting is likely to print badly. Very large prints get a coarser mesh so the STL stays small enough for a slicer to open, and the preview says when that happens.
4. Tune the photo with the backlit preview
Switch the preview to Lit from behind. It estimates how much light gets through each point of the print, so you can judge the result before you print. Unlit shows the bare relief.
Under Tone, Brightness lightens or darkens the whole photo and Contrast pushes tones away from mid grey. Gamma above 1 darkens the mid tones and below 1 lightens them. Negative swaps dark and light, and Mirror flips the photo left to right, for a print you'll look at from its flat side.
5. Add a light box
A lithophane needs a light behind it. Tick Make a box that lights it from behind and the Lithophane Maker builds a box around the print, which you export as its own STL.
- The lithophane slides in through a slot in the top and stands behind a front frame, whose lip covers the lithophane's border.
- An LED strip sits in rails on the back wall, facing the photo. Set its width, 10 mm to start, and up to 4 rows.
- The cord leaves through a hole in the back, either round or a slot for a flat plug. A USB-A plug needs about 14 × 7 mm, and a barrel plug about 10 mm round.
- Light depth is the gap between the strip and the print, 30 mm to start. A deeper box spreads the light more evenly.
- The box follows the outline, so a heart gets a heart-shaped box. Round and heart boxes stand on a flat foot.
- A flat lithophane's box prints lying on its back. A curved rectangle gets a box bent to the same curve, which prints standing up with a separate lid. Neither needs supports. Curved lithophanes with other outlines have no box yet.
If a setting doesn't fit, such as a cord hole too big for the back wall, the Lithophane Maker adjusts it and tells you what changed.
6. Export and print
Click Export STL, or Export lithophane and Export light box when you've made a box. Every file is built on your computer, with no upload and no limit on exports. Then, in your slicer:
- Print the lithophane standing up, which is how it exports unless you choose Lying flat under Print. The relief then prints as fine vertical layers. Add a brim so it stays put.
- Use white or natural filament. Coloured filament tints the light and dark filament blocks it.
- Set infill to 100%, so the print is solid and only its thickness decides how much light gets through. An infill pattern would show up as shadows.
- Use a small layer height, 0.12 mm or less, to keep the fine steps in the relief.
Questions
What thickness should a lithophane be?
Start at 0.8 mm at the thinnest point and 3.2 mm at the thickest, which is what the Lithophane Maker uses unless you change it. Keep the thinnest point above 0.6 mm so it prints without holes, and leave at least 1 mm between the two so the lit photo has contrast.
What light should I put behind a lithophane?
Use LEDs, such as an LED strip or a battery puck light. They stay cool, while a hot bulb can soften PLA, which starts to go soft at about 60 °C. The Lithophane Maker's light box has rails for an LED strip and leaves 30 mm between the strip and the print by default, so the light spreads evenly.
Should I print a lithophane standing up or lying flat?
Standing up. The relief then prints as fine vertical layers, which keeps more detail than printing it flat. Add a brim so the plate stays put on the bed. A curved lithophane always prints standing up.
Is the Lithophane Maker free?
Yes. It needs no account and has no limit on exports. It runs in your browser and builds the STL on your computer, so your photo is never uploaded.